How to install Vtiger CRM on Ubuntu?
This post will guide you from zero to hero in installing and managing the CRM on Ubuntu server!
Step by step guide on How to install CRM on Ubuntu server! Here you will see what are prerequisites, how to handle them, how to change PHP configuration or MySQL configuration. Without any delay, lets start!
Intro and prerequisites
So if you are rocking a Debian-based distribution this post is definitely for you. I would need to assume that you have something already set up. Like LAMP stack on your machine. That would include Linux of course, Apache web server, MySQL database, and PHP.
In this post, we will cover everything you need to know in order to install the Vtiger CRM on the Ubuntu server. Bear in mind that Ubuntu isn’t too much different from the other Debian-based distros. So if you are rocking a Debian-based distro this post is definitely for you. I would need to assume that you have something already set up. Like LAMP stack on your machine. That would include Linux of course, Apache web server, MySQL database, and PHP.
Download Vtiger CRM
You can download CRM from the following link. Make sure you download the tar archive. Once you do move that tar archive to the desired location where you would like to have the CRM installed. It could be the usual spot for all the websites /var/www/my_crm_installation or it could be somewhere else.
Go to your folder of choice using
cd /var/www/my_crm_installation/and execute the following command:
sudo tar -xzvf vtigercrm7.5.0.tar.gz --strip-components=1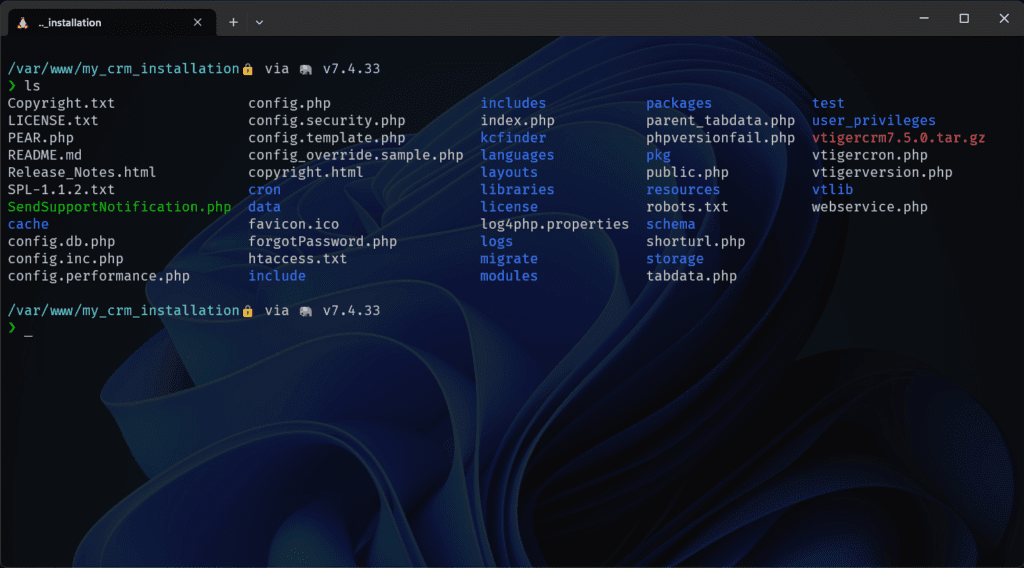
It’s a usual command for extracting tar archives with one argument at the end –strip-components=1 which means that we don’t want the root folder to be extracted but only its contents.
Install necessary PHP extensions
When installing php extensions you need to remember a couple of things. First of all keep in mind which version of the php you have, because you need to install the extension for that version. If you are on Linux, keep apt updated.
Before we start run the following command
sudo apt updatenext, run these
sudo apt install php7.4-imap
sudo apt install php7.4-curl
sudo apt install php7.4-xml
sudo apt install php7.4-gd
sudo apt install php7.4-zip
Let’s brake it down what are we running here? So sudo apt install will install the following extension. Nothing earth-shattering there. You can see that I am installing the specific version 7.4. That’s the version of the php I have therefore I am installing that extension version. That’s pretty much it, you have installed all the php requirements for CRM.
PHP configuration
Now, this is an optional part but it’s better to cover it. There are three things you should change in the php ini file. You can open it with the following command
sudo gedit /etc/php/7.4/apache2/php.iniKeep in mind that you need to adjust the version in the previous command if it’s different. When you open it, change these two properties
memory_limit (min. 256MB)
max_execution_time (min. 60 seconds)
After you save the file, you need to restart the apache with the following command
sudo service apache2 restartConfigure MySQL database
For MySQL configuration, we are going to do something similar. We are going to open up the configuration and paste the following properties inside after [mysqld] tag.
sudo gedit /etc/mysql/my.cnfProperties to paste inside:
storage_engine = InnoDB
sql_mode= ERROR_FOR_DIVISION_BY_ZERO,NO_ENGINE_SUBSTITUTION
Then after we are done with that we should restart the MySQL server with the following commands.
sudo service mysql restartSetting up Apache configurations
Now it’s time to set up Apache configuration. All the configurations are placed inside /etc/apache2/sites-available. If you have just installed the Apache web server you would have two configurations in there
You should create a new config with a domain name as the name of the file followed by .conf as an extension. If you still don’t have a domain name or this is a development environment you can invent a name for your config. Something along the lines mycrm.conf will do the trick. To create a new file you can use this command below.
sudo touch mycrm.confAfter you have executed it, you will find a new file in the sites-available folder. Then you can open it with your favorite editor being that nano, gedit, or something else. When you open the config file it will be empty but we are going to change that in a minute. Below is the code that you can copy and paste into your config file.
<VirtualHost *:80>
  ServerName mycrm.development
  ServerAdmin djordje@djolecodes.com
  DocumentRoot /var/www/my_crm_installation/
  <Directory "/var/www/my_crm_installation/">
          Options -Indexes +FollowSymLinks
          AllowOverride All
          Allow from all
          #Require all granted
    </Directory>
</VirtualHost>

# vim: syntax=apache ts=4 sw=4 sts=4 sr noetEnabling our configuration
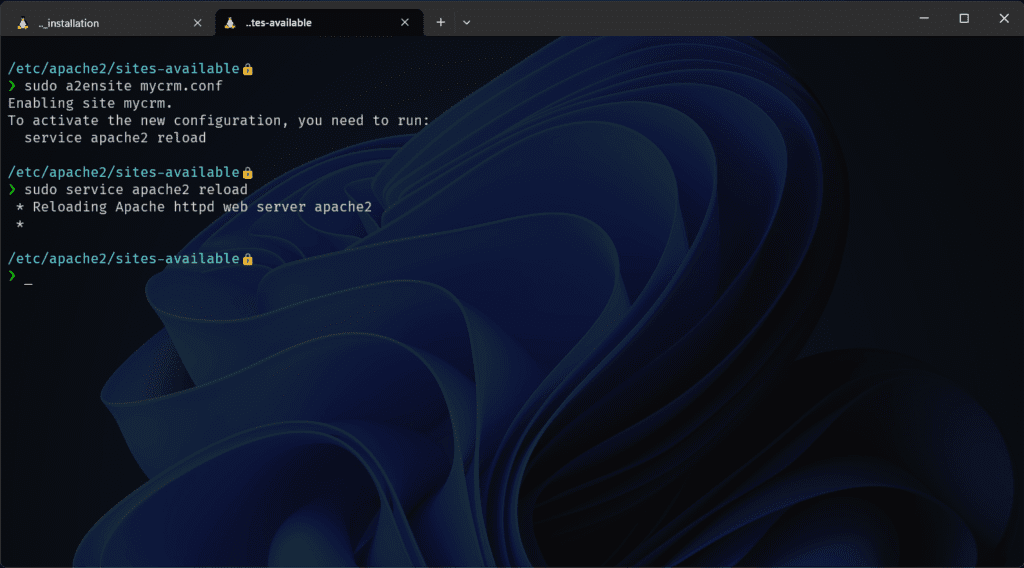
I hope all of this is clear. Now If we have done everything correctly there should be no issue with our configuration, so we can go ahead and enable it. You can do that with the following command and you are good to go.
sudo a2ensite mycrm.confSo my config was mycrm.conf so that’s the name I am going to use, you need to adjust this to your config name. After that, we need to restart the apache web server so it loads the new configuration. And we are doing that with the following command.
sudo service apache2 reloadAfter that, I needed to do one more thing and that’s to change my hosts file, but remember that I need to do only because I am creating this as my development environment. So if you are creating a real live environment with a live domain, you can skip this step. But if not, please add this line to your hosts file if you are on wsl like me follow the steps below.
Changing the hosts file on windows
Changing the hosts file on Linux
Execute the following command to open the hosts file in your editor. sudo gedit /etc/hosts when you open it add the following line to the end of the file.
localhost mycrm.developmentChange the domain name to yours and you are set.
CRM installer
With that out of our way, we are finally set to open up the browser and check out the CRM installation process. The installation process is pretty straight forward so I am not going to explain each step of the way, however, those important ones will be documented with screenshots.
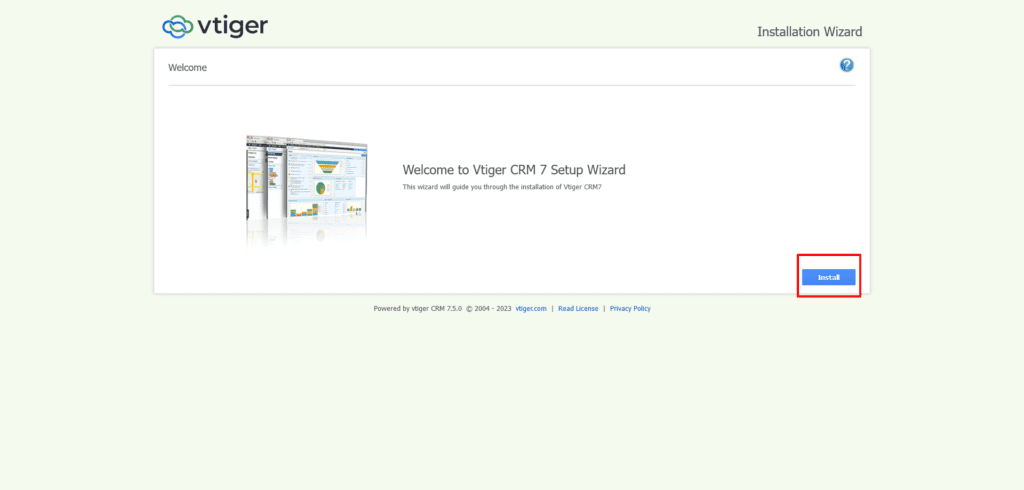
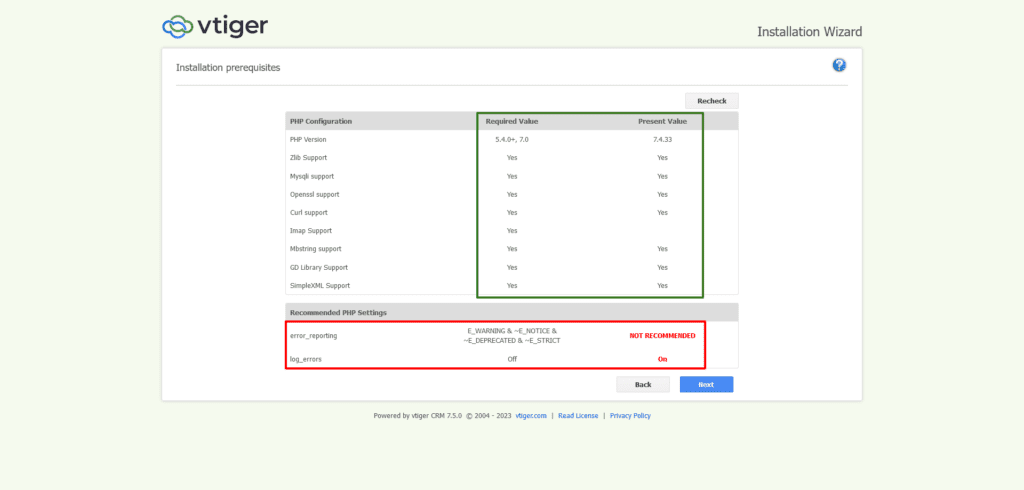
The first step is simply clicking next and accepting the user agreements. After that, you will be presented with some properties of your configuration. If there is something yet to be done it will be presented here.
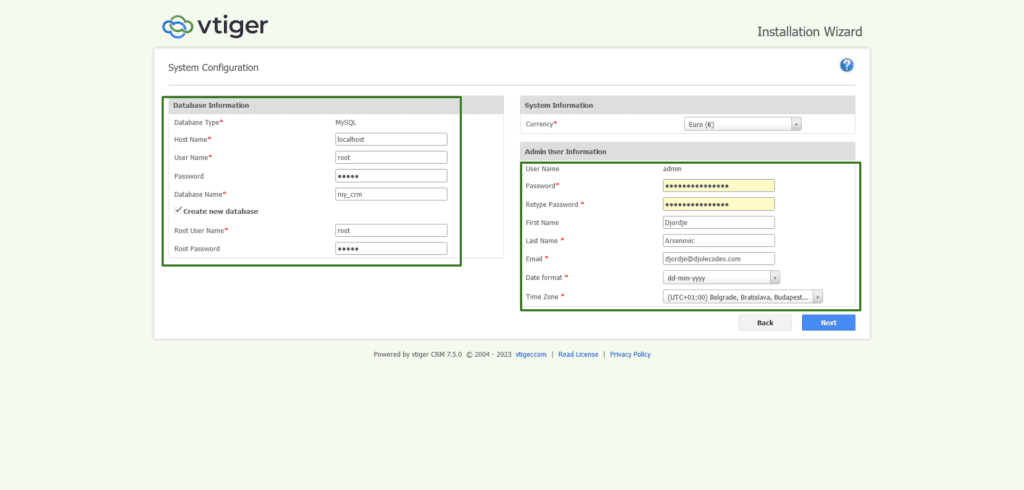
In the next step, you need to provide information about the database and about the admin user that you are automatically creating.
Database & Admin information
The last two fields are optional, but I didn’t create my database in advance therefore I’ve added the root username and password. Bear in mind that this user needs to have the ability to create the database.
Admin information is pretty straightforward and easy to grasp therefore I won’t be covering it in detail.
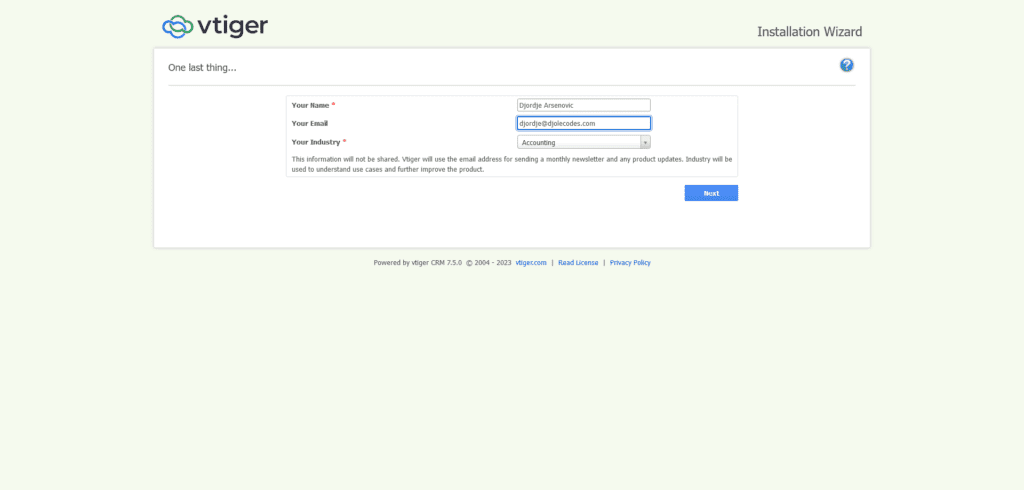
CRM usage
Here and in the step after you can set how will you use your CRM, what is your industry, and select which module you want to use. But you can disable and enable the modules later on, don’t worry.
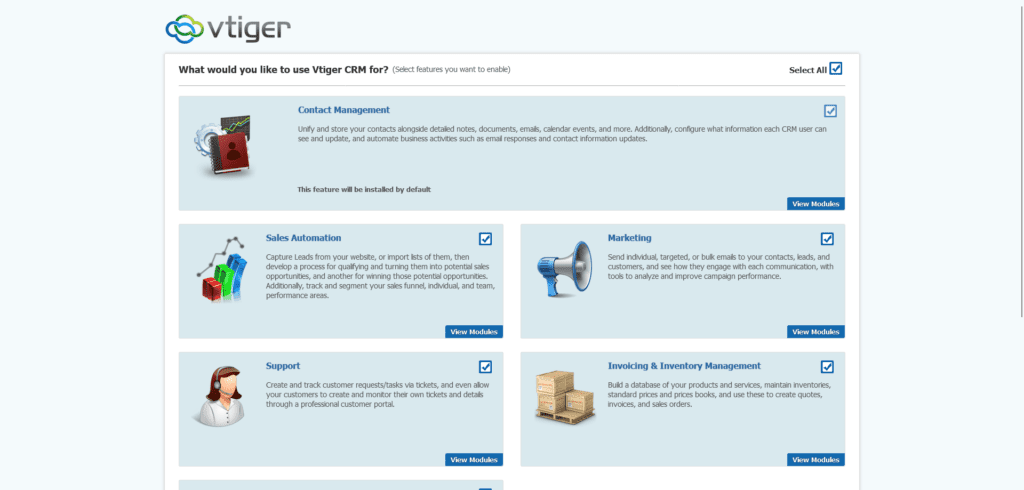
Selecting the modules. When I do some work for clients I usually select all of them, then we change it down the road what we need.
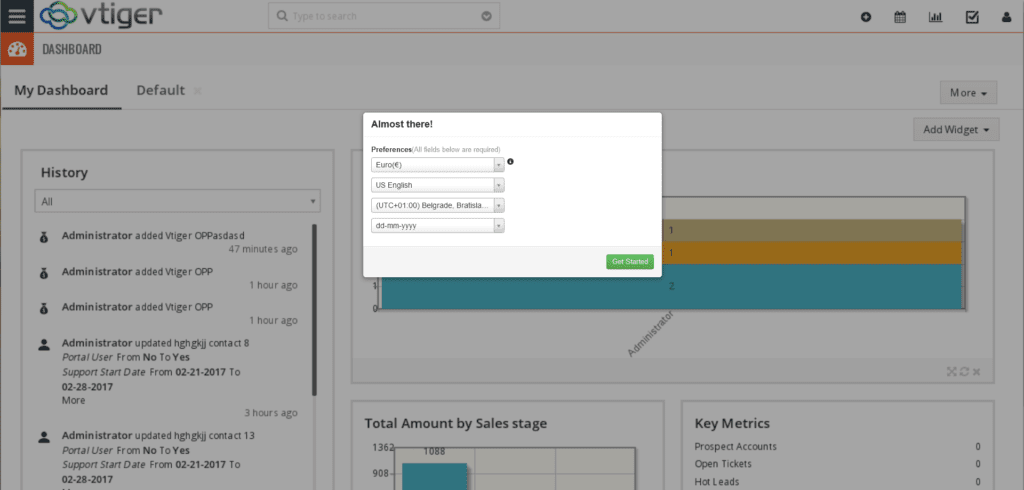
After that, you just need to confirm the previous settings, and that’s it. You are all done.
Conclusion
Ok so, that’s it! You have successfully installed Vtiger CRM on Ubuntu! Congratulations! I think we have done well here and learned a couple of things about servers, MySQL, PHP, Apache, and Linux. Remember if anything goes wrong, or you have any questions, please don’t hesitate, to make a comment on this post. I will do my best to get back to you as soon as possible.